A DIY sound system gives you the freedom to customise your sound and components – and it's not too difficult.
Putting a great sound system together is about more than finding the bits you need at a price and cobbling it together. Anyone who has taken that approach knows the annoyance of speaker hum and ensuring everything connects easily. But how do you choose the best components to suit your needs? It's easy...
Step 1. Make a list of your output devices
Make a list of all the devices you want to connect to your sound system. This might include:
- Your TV
- A media player
- A DVD or Blu-ray player
- A record player
For each one, note what sorts of audio outputs it offers. They may use RCA connectors, TOSLINK, 3.5mm audio output or HDMI. A wireless connection over Bluetooth® may also be an option.
Step 2. Choose your listening experience
Your speaker choice will be driven by what sort of system you're putting together. For music listening, a pair of speakers, perhaps aided by a subwoofer for some extra bass, is a good option. If your sound system will be part of a home theatre, a 5.1 or 7.1 system is worth considering. That means choosing an amplifier that supports multi-channel output for the number of speakers you'll be connecting.
Step 3. Select an amplifier
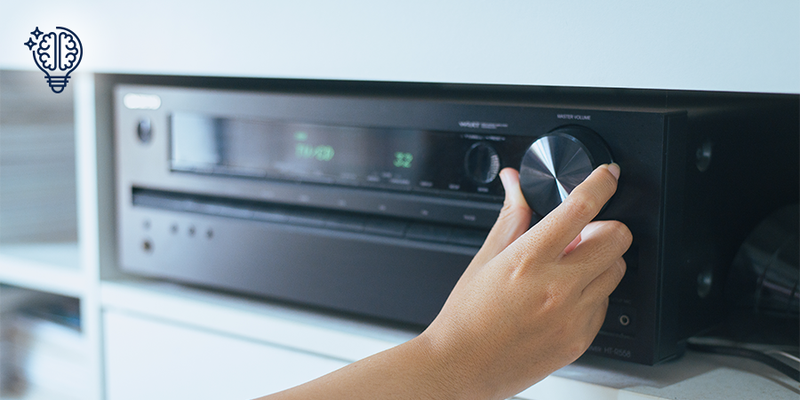
An amplifier takes the output from your playback devices and boosts it so it can be heard through your speakers. When looking at an amplifier, ensure it has the correct number and types of input to support all your playback devices and the speaker system you're planning to use. Not all amplifiers support 5.1 or 7.1 sound output. If you're planning to use your system for a home theatre, then make sure the amplifier supports that sound output.
Different amplifiers deliver different amounts of power, measured in watts per channel. This tells you how much power is delivered to each speaker. The more watts, the louder output (assuming your speakers can handle it). As a general rule, 50 to 100W per channel is plenty for a home sound system set-up.
It's also important to ensure your amplifier and speakers work together. The sound traveling from your playback device through the amplifier to the speakers is an electrical signal that's subject to resistance. This is also called the impedance rating.
Check the impedance rating of your speakers, measured in ohms, and ensure that your amplifier can handle that comfortably. If you're in any doubt, experts suggest that as long as the speakers have a higher impedance than the amplifier you shouldn't run into any problems.
Step 4. Get the right cables
Connecting your components will require the right cables. Ensure your cables allow you to easily connect each component to the amplifier without being stretched or with so much slack that you end up with a nest. It's also a good idea to label both ends of each cable in case you need to move something in future as that will make tracing your cables much easier.
When it comes to connecting the speakers to the amplifier, we recommend using heavy duty fig 8 speaker cable as it's suitable for most installations. Although, electrical signals travel at the speed of light so small differences aren't going to matter. If you're planning to run cable across your whole home so you can play sound in lots of rooms, thicker cable, which has less resistance, is worth looking at.
Putting together your own sound system is very rewarding and ensures you get to listen to your movies and music the way you want to. Take the time to match your output devices, amplifier and speakers and connect them neatly and you'll enjoy years of listening pleasure with the satisfaction of building it yourself.

